Chemistry in analogue photography
There is a lot of chemical and physical know-how behind the production of a photo. The basis for the development of black and white or color films is the photochemical conversion of white silver halides into black metallic silver. The color film is much more complex than a simple black and white film. However, both variants have one thing in common: the development of the negatives and the production of prints using redox and complexing reactions.
Back to analogue photography
The term “photography” can be traced back to the Greek words “photo” and “graphein”, which mean something like “light” and “to write”. So photography is nothing more than an umbrella term for the production of images on light-sensitive surfaces such as paper, plates, films. Electromagnetic radiation (light) causes a photochemical reaction on the film surface. The basic prerequisite for this is the sensitivity of silver halides to light, because these break down into elemental silver and halogen when light (energy) is added. The formation of elemental silver turns the originally white silver halides black.
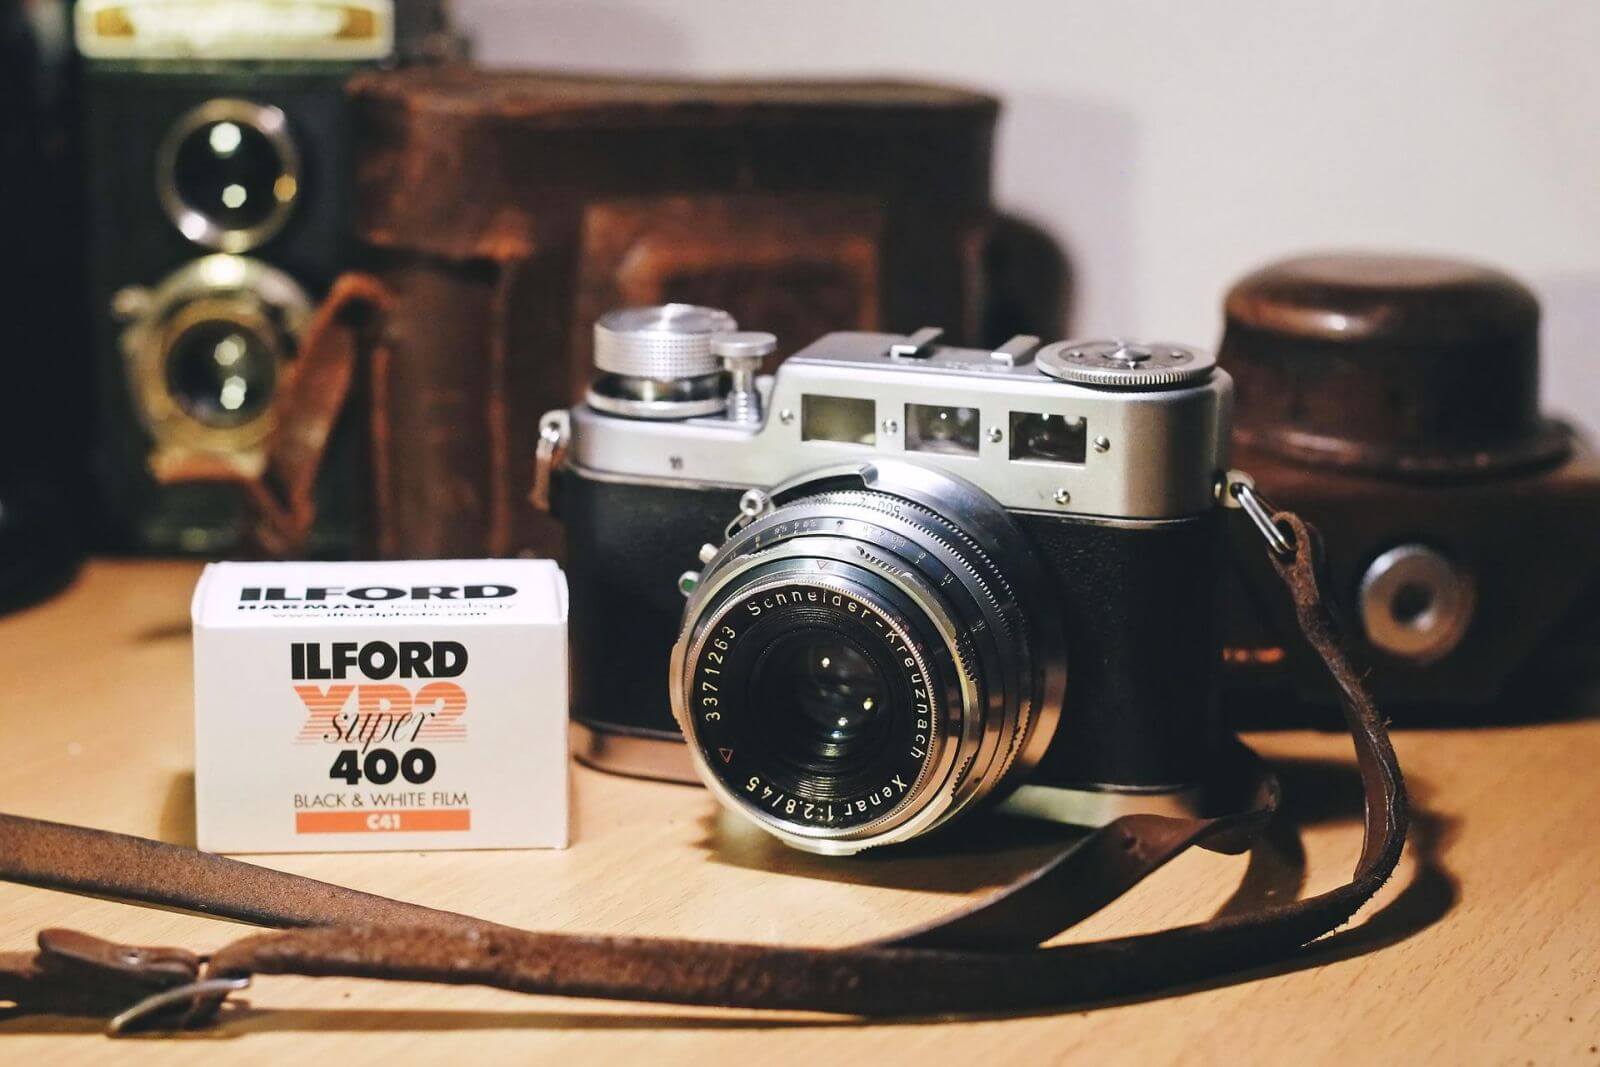
Photographing on film is getting popular again and more and more hobby photographers are turning to analogue cameras. The process of development is what makes things exciting – only if this is successful the desired works appear. But be careful, because some oft the chemicals are toxic. It is advisable to wear protective gloves and to ensure good room ventilation.
From recording material to negative
But how does it all work? After being exposed in the camera, the black and white recording materials are further processed in the laboratory to produce a negative. The following steps are necessary for this:
1. Develop
2. Intervals
3. Fix
4. Final waters
5. Drying
First you have to know that a negative film consists of a transparent carrier layer – cellulose acetate or polyester. A solid dispersion of silver halide grains contained in a protective colloid is then applied. This protective colloid is nothing more than gelatine, which forms a shell around the silver halide layer.
The latent image emerges
The silver bromide crystals from the dispersion have so-called imperfections. These arise because some of the silver ions are flexible and can leave the structure of the lattice. These ions are called interstitial ions. They can be excited more easily than other crystal ions. If a silver bromide crystal absorbs a photon, a photoelectron is produced. This can combine with an interstitial silver ion. The silver atom that has now formed combines with additional silver atoms to form a four-atom latent image nucleus. Exposure creates a latent image. Latent because it actually exists but is not yet visible.
Incidentally, silver bromide only absorbs light with a wavelength of less than 480 nm – i.e. UV light or blue light. Sensitizers are used so that longer-wave radiation can also be detected. These are dye molecules that absorb radiation above 480 nm. The light energy puts them in an excited state and enriches them with energy for a short time. The excess energy is transferred to other molecules or atoms. However, only if the required excitation energy of the acceptor (molecule or atom) is smaller than the energy of the excited donor.
The fixer bath with sodium thiosulphate
In the next step, the latent image on the film is made visible through chemical treatment, i.e. developed. The image that is created is called a negative, because negatives show the brightness values of the object in reverse order. An alkaline solution of a reducing agent, such as hydroquinone, is required for development. This reduces the silver ions in the vicinity of the silver nuclei to elementary silver.
In places with many silver nuclei, i.e. in the more highly exposed areas, there is a catalytic intensification of the reduction. The more these areas were exposed, the more these areas are blackened. The negative image is created.
It is now important to rinse off the developer well and fix the image, otherwise the exposure to light will continue to blacken the negative. The slightly acidic fixing bath dissolves remaining silver halide residues and stabilizes the silver atoms. In most cases, sodium thiosulfate or ammonium thiosulfate is used for the fixer. Sodium thiosulfate reacts with the remaining silver halide. This creates a complex of silver, thiosulphate and a sodium halide. The compounds formed can be easily washed out. Thorough watering is now the order of the day, otherwise the fixative would attack the negative over time. The negative is then placed in a cleaning bath to avoid unsightly water stains.
One negative – several prints
Next comes the drying. The water contained in the layers normally evaporates in the air at a room temperature of over 20 degrees. The drying process takes several hours. The films are clipped at both ends for drying to prevent them from curling up or sticking to other films. Accelerating the drying process with alcohol, spirit or potassium carbonate is not recommended, as this would greatly reduce the durability of the films.
Finished positives can now be developed from the existing negative by projecting the negative onto photographic paper. It is good to know that several prints can be made from each negative.
Color films are more complex than black-and-white films in terms of their composition. They are made up of several layers – alternating light-sensitive layers and filter layers. Color-sensitive layers contain a dispersion of silver bromide crystals to which a sensitizer is bound by adsorption. They also contain a color coupler that colors the exposed areas cyan, magenta or yellow after the development process.
We recommend the following products on this topic:
– Silver nitrate
– Silver iodide
– Silver Chloride
– Barium bromide anhydrous
– Barium iodide dihydrate
– Potassium bromide
– Ammonium thiosulphate
– Sodium thiosulphate
Do you have any questions or are you interested in these products? We look forward to your inquiry via our contact form.